Hiding Feature Image on BlackDoctor.pro
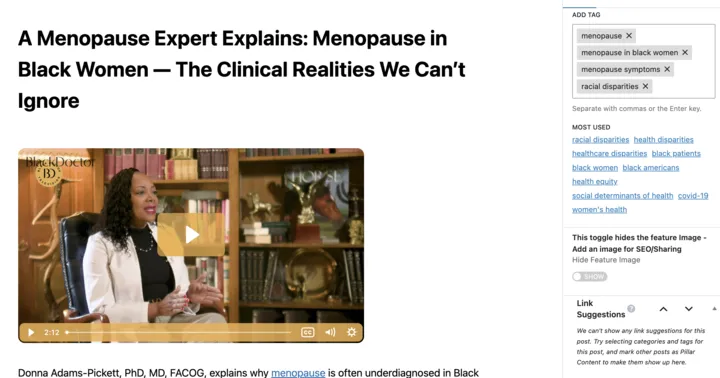
1. The Two Main Areas
- Left Side (Content): Where you write the article. Add text, videos, images by clicking and typing or using the
+button. - Right Side (Settings): Where you control how the post behaves. This includes tags, categories, and special toggles like the “Hide Feature Image” switch shown in your screenshot.
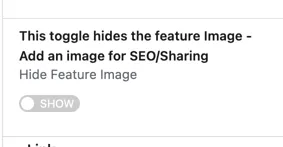
2. How to Use Toggles (The “Hide Feature Image” Example)
Looking at your screenshot, there’s a toggle labeled “Hide Feature Image” with “SHOW” displayed:
To Toggle ON (Hide the image):
- Look at the right sidebar under the “Post” tab
- Find “Hide Feature Image”
- Click the toggle switch to change it from SHOW to HIDE
- This removes the featured image from the top of the article (but keeps it for social media/Google search results)
To Toggle OFF (Show the image):
- Click the toggle again to return to SHOW
- The featured image will appear at the top of the post again
Rule of thumb: When the toggle is gray/left = OFF, when blue/right = ON (though your theme may use “SHOW/HIDE” text labels instead).
3. How to Save Your Changes
If the post is already published (Update):
- Make your changes (toggle the setting, edit text, add tags)
- Look at the top-right corner of the screen
- Click the “Update” button (blue button)
- Wait for it to say “Post updated”
- View the live post to confirm changes
If it’s a new draft (Publish):
- Click “Save Draft” to save without making it live
- When ready to go live, click “Publish” → then “Publish” again to confirm
Auto-save: WordPress saves your text automatically every few seconds, but toggles and settings require clicking Update/Publish to take effect on the live site.
Last updated: 04/17/2026